
Hello, friends...I have another scrapbook layout to share with you for the Butterfly Reflections Ink Design Team.
The pictures are of my daughter during one of our treasured trips to the park. It really wasn't an incredibly eventful day, but these are the moments I enjoy documenting the most...everyday life! I love how the outdoor elements of the Doodlebug Designs "Hello" collection work with this kind of theme and thought it would fun to create a scene using dies and a stencil. It was so easy to do with these products!
I started with a piece of white cardstock, Distress Oxide Broken China Ink, Distress Ink blender tool, & the My Favorite Things Cloud stencil.
With this stencil, it is so easy to create fun fluffy clouds....load up your blending tool and swipe on the ink from the stencil to the paper...you want to use swiping motions in order to get smooth and gradient color. What is great about this stencil is the four different sides so you can create so many layers and combinations of clouds.

To create the grassy hills, I used the Pretty Pink Posh Scalloped Borders and green heart patterned paper from the Sunny Studios 6 x 6 paper pad. Now, I know you are wondering...if the layout is 12x12, then what do you do with the seams? If you notice, I strategically placed my photos and the bike die cut to cover up the seams. To add some dimension, I used my distress blending ink tool to apply Distress Oxide Lucky Clover Ink on the edges of the bottom layers of the grassy hills and popped up them up on adhesive foam to allow it to stand out from the top layer of "hills".

The Odds & Ends embellishment package has so many gorgeous flowers which I used to tuck in my grassy hills and around my photo. I also fussy cut some smaller flowers from one of the papers from the 6 x 6 paper pad and matted my photos with a few of the larger scraps I have left as well. The gorgeous matching flower shape sprinkles add even more texture to the flower clusters.

These adorable birdies were perfect to hang from the top of my layout. I adhered a couple of the matching die cut bows to the top of the cages on adhesive foam and "hung" them with hand stitching using the chain stitch method I learned from Paige Taylor Evans...I am slowly, but surely becoming more comfortable with hand stitching on my layouts and I love the way it turned out!
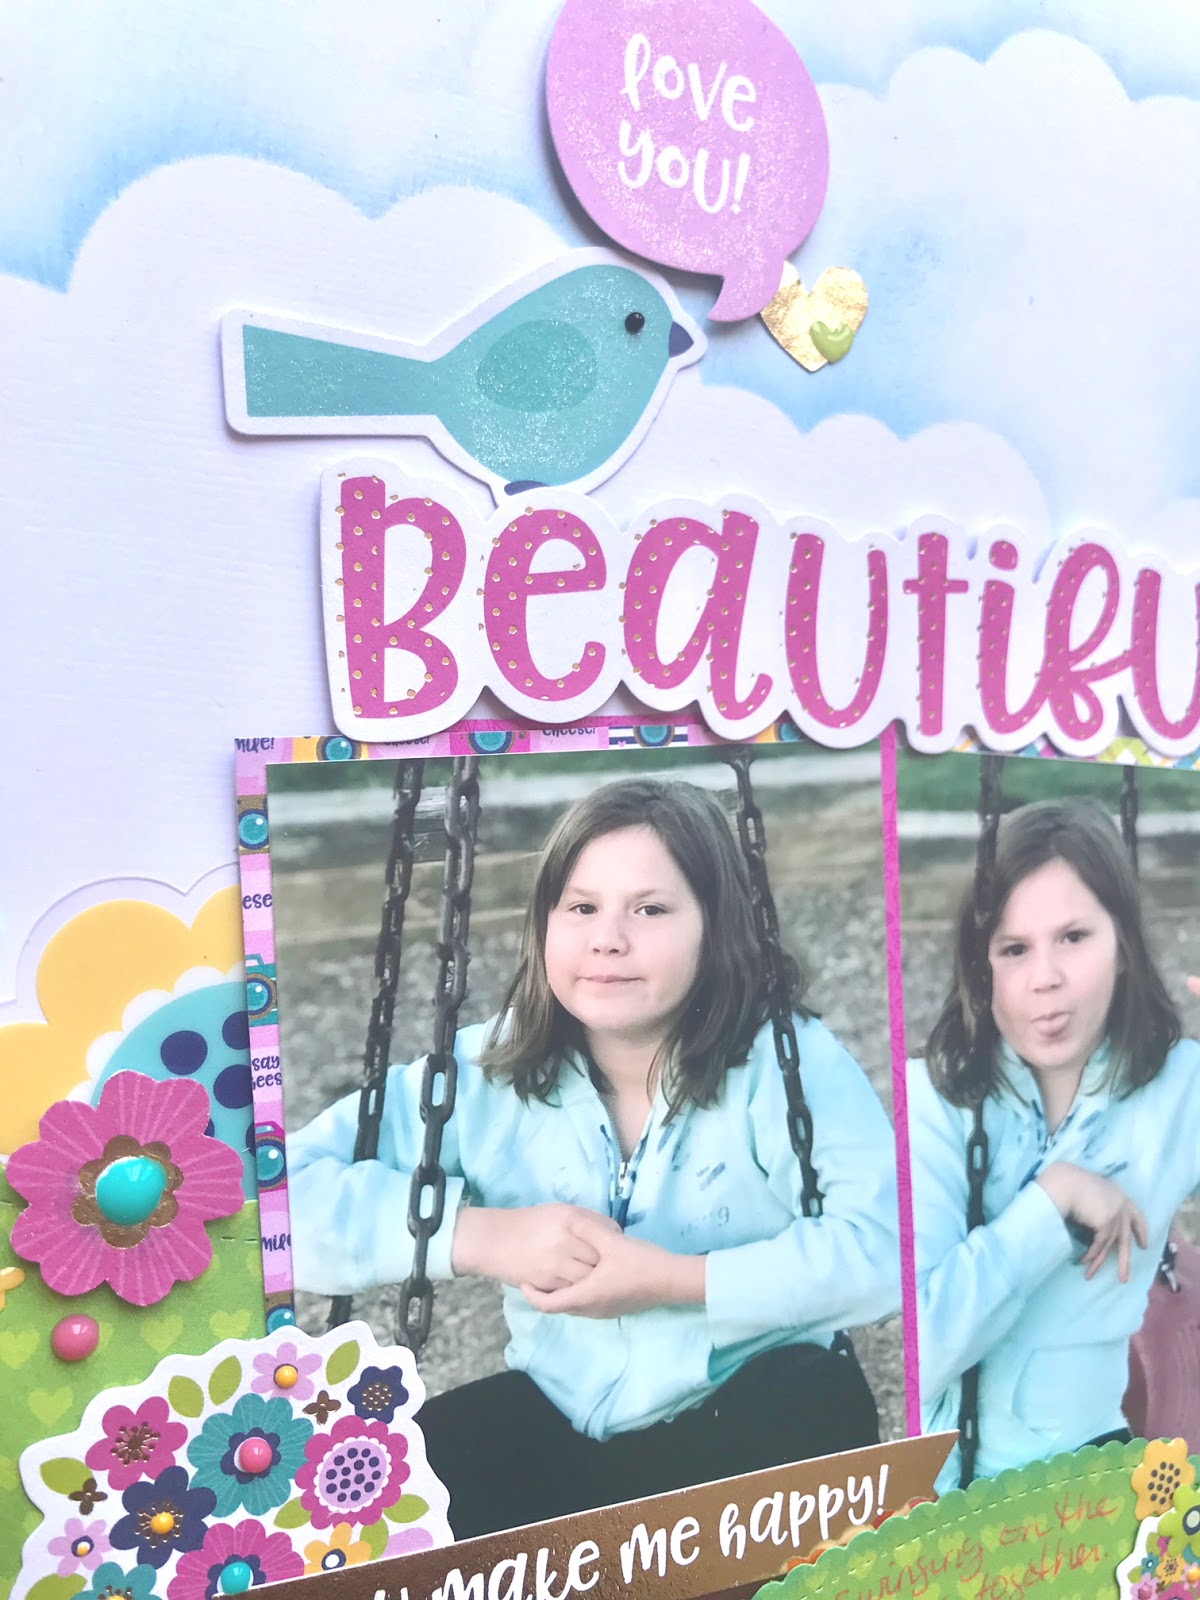
To compliment the birdies hanging on the left side of the page, I placed two other die cut birdies and thought it would be cute to place a couple of the speech bubbles from the Chit Chat embellishment package with them as though the little birdies were doing the talking.
My title "Beautiful" die cut is also from the same chit chat pack.
To finish up, I added some shimmery goodness to most of the die cuts with the Nuvo Shimmer pen and dropped Nuvo enamel drops on the flowers, die cuts and around the embellishment clusters. I used Nuvo Crystal drops in Party Pink, Night Sky, English Mustard, Blue Lagoon and I love the shine and dimension these little drops add!
If you'd like to watch my process, you can check out my YouTube video linked below...
Thanks so much for stopping by and I hope you are inspired to create a scene on your next layout! Head over to the Butterfly Reflections Ink online shop to shop these products!
Have a great week!


No comments:
Post a Comment