Tuesday, January 8, 2019

My Creative Scrapbook Kit Club//Scrapbook layouts//January Main Kit

Hey all...I hope you had a nice holiday season!  Welcome 2019!
I am looking forward to great things in the new year and hope you are as well!
One little tid bit of good news to share is that I have been asked to join the My Creative Scrapbook design team for the year of 2019!  Yay....which means, I will be sharing layouts each month using the main kit.
 
This month, in the January main kit, feature papers and embellishments from the "freezing season" collection from Simple Stories.
It also includes a stamp set, American Crafts pink word thickers, white burlap ribbon, and silver beaded trim.


***************************************************
 
 This is the first layout I created with the kit.  I fell in love with all of the cute chipboard and die cut embellishments in this collection and I really liked the idea of creating a collage of those embellishments.
I started with layering the patterned papers diagonally keeping the center portion as a less busy background to avoid the embellishments making it too busy.
I did add a layer of clear gesso on the center portion and shimmerz paints to peak behind the pieces.
I machine stitched along the striped papers which were the perfect location for my title. 
My title consists of chipboard pieces and rose gold thickers from Paige Evans.


Then, I began placing the embellishments around my photo like a puzzle.  Some were popped up on foam tape and some were finished with Nuvo crystal glaze.  This adds some shine to otherwise flat die cuts.
This is a simple design that works with any collection and anyone can accomplish!
 
 
******************************************** 
 
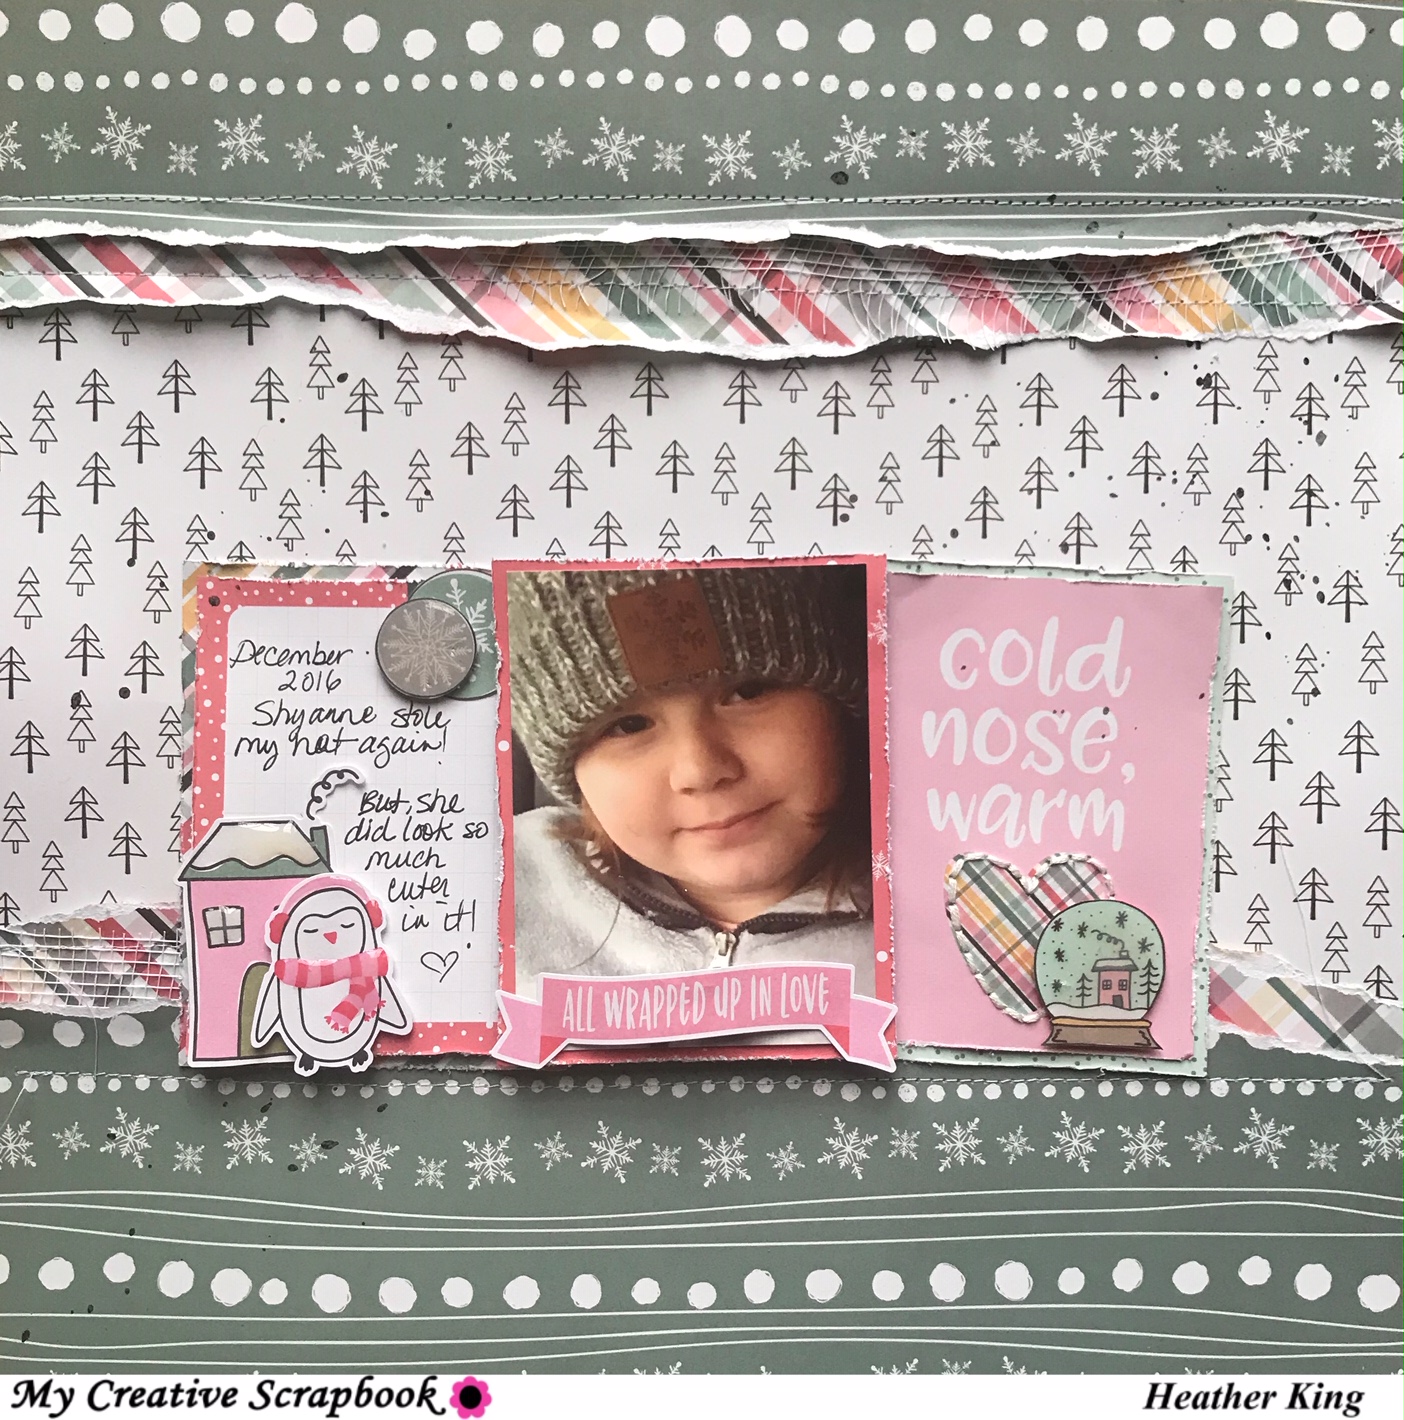
The 2nd layout I created is also pretty simple and based on the monthly sketch. 
Its quite the same as the sketch, but the purpose of the sketch is to inspire you so however, the finished layout turns out.  
 
 
My interpretation is a loose one, but I am happy with the way it turned out.  I used a couple of the cards on the cut apart paper to balance my photo and to balance the layout, I layered strips of the patterned papers on the top and bottom of the page.  I also tucked in pieces of the burlap ribbon in those layers. 
 
 
To watch my whole process, keep a look out for the video on my YouTube channel coming up in a couple of weeks!


***************************************
 
 
My third layout is a fun monochromatic mixed media page.  I started with the cute penguin page and fussy cut around them about half way up.  I have seen this same look on other layouts recently and thought it was fun.  On the background, I spread a layer of texture paste through a snowflake stencil from Echo Park.  Once dry, I painted on matching Shimmerz paints for a little bit of color, then added a few snowflakes I cut in vellum and white cardstock using a Simon Says Stamp die.
Next, I pulled all of the mint/green/blue embellishments to layer in clusters on either side of my photo. 
This layout was time consuming because of the mixed media, but a simple design and I loved the way it turned out!


*********************************
 
On my 4th layout, I used one of the exclusive cut files offered by My Creative Scrapbook and cut from white cardstock.
I popped up the entire cut file up for dimension and then layered chipboard and die cut pieces in the center of the snowflakes. 


To watch my whole process, check out my YouTube video...you may see a few unexpected details.


Thanks so much for stopping by to check out these projects using the January Main Kit from My Creative Scrapbook Kit Club.
If you like these pages, you will definitely be interested in this kit!
Head over to the website to check out this kit and the others.
Have a great week!


Saturday, December 22, 2018

My Creative Scrapbook Kit Club - December Main kit layouts

Hey crafty friends...Its been a minute since I've posted, but I have (4) layouts for you today created with the December main kit from My Creative Scrapbook kit club!
 
This is my second month as a guest designer and its been so much fun receiving current products right at my front door as well as some fun coordinating products!
The current December main kit includes products from Simple Stories, Echo Park, as well as some ribbon which is always fun to add for texture!
 
If you aren't familiar with MCS, check out their website for the current kits...they offer several different kits packed with different collections and project ideas! Each month the design team creates dozens of projects with these kits prior to the kits being shipped to all subscribers...this way, when you receive your kit, you have inspiration that same day!  There is also a sketch shared each month you can use to start with and the are several super cute digital cut files available for free!
These cut files can be downloaded from their website in the "add-on" tab for free whether you are a kit subscriber or not!
 
**********************************************
 
My first layout below.... "Noel" includes exclusive cut files from My Creative Scrapbook.
The original cut file is a large circle with poinsettia at the top with leaves and I cut additional poinsettias and leaves to embellish with.
I decided that the original cut file in the center was just to predictable...and decided to cut it and add as it both sides were coming off the page.  I love the way it turned out and finished it off with a couple of brads from Echo Park and some of the ribbon. 
The last few details I added were matching Simple Stories stickers and chipboard from Echo Park.  I used red brads on the stickers on the right side and finished up with chipboard stars and hearts. 
All included in the kit. 
Lastly, I pulled out my red nuvo drops to add to the "berries" on my cut file and my Nuvo Shimmer pen to add shimmer to all of the die cuts. I also used white nuvo drops to add some detail on the background paper.


***********************************************************************

My 2nd layout is a design I have created before, but one of my favorite go to's with collections that have beautiful patterned papers. It is a simple process, but the end result is always beautiful and reminds me of a quilt!  I cut 2" squares and cut in half to make triangles and just started laying them down on my background paper.  I picked a pattern paper with no color so it wouldn't end up looking too busy and competing with the patterns below. 
The only challenge is to be sure that the patterns and colors are spread somewhat across the page.
I matted my photo and adhered on fun foam following the same angle as my "quilt" and then added my title from the chipboard words from American Crafts included in the kit. 
 I pulled a few die cuts and chipboard pieces to embellish around my photo and added some splatters with my Shimmerz paints for a little more color on the top portion. Lastly, I thought the layout needed a little cluster on the bottom right to balance it overall and just added a few more die cuts and chipboard pieces and kept it small since there is already so much color and pattern.
 
I do have a Youtube process video for this layout which you can watch here....


**************************************************************
 
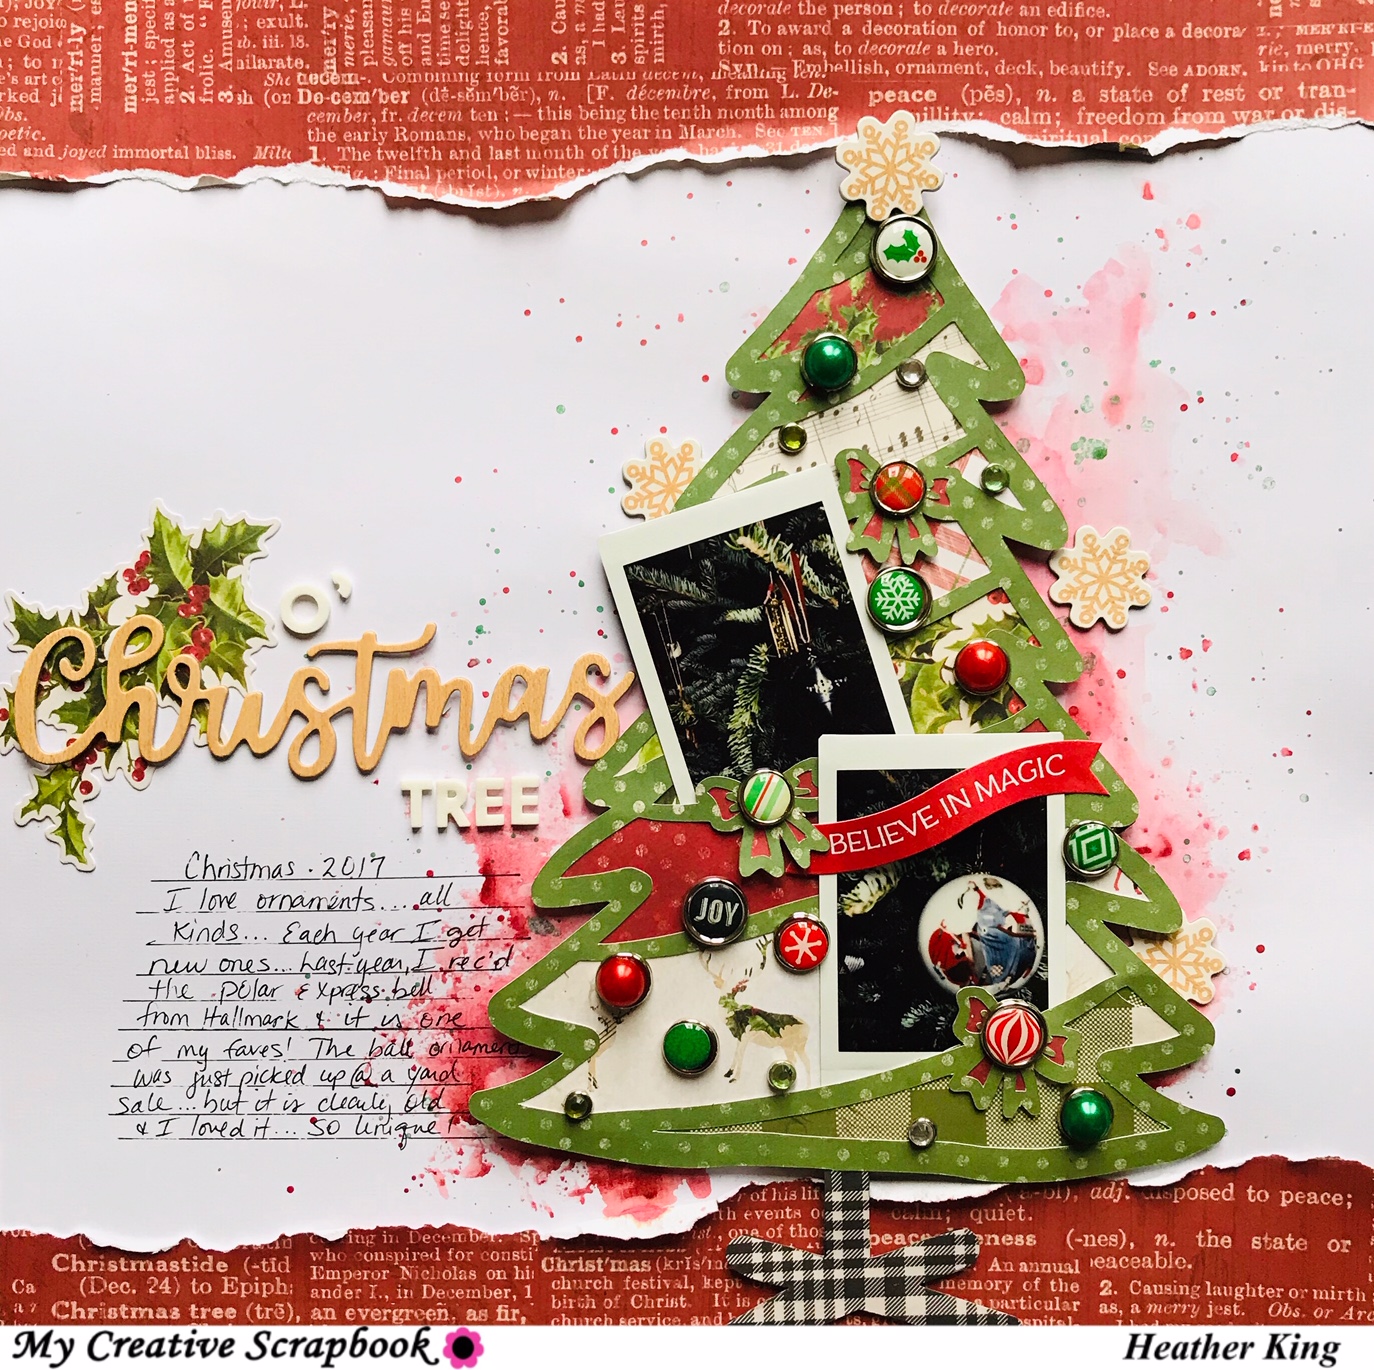
My 3rd layout was so much fun to create and may have been partially due to the story behind it...My husband gave me a polaroid camera for last year which was so exciting so I was taking pictures of all sorts of things with it...a couple of those pictures were of my new ornaments.  Each year, I receive new ornaments from my mother or I've purchased myself, but I cherish my ornament collection so it was appropriate to document!
Before adding the "Christmas tree", I added a layer of clear gesso to my white cardstock and smooshed some watercolors from my stash for some color peeking from behind the tree.  I used paints from Shimmerz, Hero Arts, and Kuratake Gansai.
Since one of this months exclusive cut files was a tree, I thought it would be fun to tuck in my ornament pictures.  I backed the open areas with patterned paper and then adhered most all of the Echo Park brads included in the kit.  I don't use brads often anymore (which I am sure is the case for most of us ...?)
but the idea of using the brads as other "ornaments" was very exciting!
To balance all of the open space in the background, I tore some of the red patterned paper and distressed it some to add to the top and bottom of the page.  Of course, since there was a long sentimental story to this layout, I had a lot to say in my journaling and the title says it all, right?
I used a large chipboard word from the kit and the white thickers are from Paige Evans from my stash.  I love how it turmed out!!
 
 
****************************************************************
 
My 4th layout was my most time consuming layout of the four, but my favorite!  It is of my daughters holding their new ornaments of the year which is kind of an extension of the story from my 3rd layout...can you tell our ornaments are huge in my family??
That being said, I had a lot of journaling for this one as well, but since the layout was about ornaments, I thought I would break out my paper punches (yep, I said punches!!) to create little embellishments "ornaments" to "hang" on my page....I used the red and green ribbons included in the kit to make bows for each ornament and really thought the hand stitching made it complete!  I used coordinating colors of embroidery floss and the chain link stitch to create all of this beautiful texture....My inspiration behind the stitching is definitely, Paige Evans...I have been sewing for years, but after watching video after video of Paige Evans hand stitching on her layouts, I thought, I can do this!  I learned this type of stitch from her as well and she has several videos on her YouTube channel explaining the process. Once you've done it a couple of times, it is easy ad anyone can do it...and floss is cheap and lasts a while, so if you haven't tried it...go ahead and experiment.  
You can start small with simple shapes like this one and I am sure you will be hooked!
 
Each ornament has a combination of die cuts and chipboard embellishments which some I've popped up on adhesive foam and most all, I used my Nuvo shimmer pen to add some sparkle..because everything looks better with sparkle!
 
Lastly, I wanted to added a little bit of "shine" coming from each ornament which I added with watercolors from my stash....I think the background was too white for my taste anyway!
My title came from the echo park chipboard in the kit and I added some white thickers from Paige Evans from my stash.
 
I do have a YouTube process video for this layout if you'd like to watch...click below...


Thanks for sticking with me till the end...I hope enjoyed looking through my projects for this months kit from My Creative Scrapbook.  Maybe you found some inspiration of your own....?
You can also find more ideas and inspiration from the other designers in the gallery on the website and you can see the complete details of each kit's contents as well.
 
Please free to leave me any comments or questions and then head over to My Creative Scrapbook Kit Club to sign up for next months kits!!
Happy Holidays and have a great crafty week!
 
hugs, Heather


Friday, November 16, 2018

Happy News + new scrapbook layout share!

 
Hey friends...yes, I know its, been quite a while since I posted, but I have still been busy creating and I have some new projects and news to share!
Recently, I was asked to be a guest designer for My Creative Scrapbook Kit Club for the next few months! yes, I know, awesome...I am very excited to be receiving their kits....They offer several different kits featuring different products that really cater to different scrapbookers...personally, I love each type of kit, but there is something for everyone!
 
Each month, I will be sharing a minimum of (4) projects using the Main Kit and the November kit was packed with Pebbles "Along the way" collection.  I love the papers and die cuts in this collection. 
The main kit also includes alpha stickers and some ribbon trim which I was definitely able to incorporate!
Below is one of the layouts I created...and actually it was the fourth layout I created, but this was my favorite and I recorded this one so you could see the process and how I created the background.


Make sure you check out my YouTube video linked below to learn how to create this quilted background!
 
 
 This is layout #2....I didn't use as much patterned paper and embellishments for this one, but I did use one of the exclusive sets of free cut files offered this month...I backed the flowers with patterned papers and vellum from my stash.  I layered some of them and used my sewing to stitch threw them in order for the edges to lift.  I also incorporated some of the matching die cuts and used the gold thicker word as my title.
I did use white gesso to white out the center of the black patterned paper so the flowers would stand out more and I could add some watercolors.  Then, I finished it off with lots of matching splatters.


This is layout #3....and I created this layout based on the monthly sketch provided as inspiration....It isn't an exact take on the sketch, but it got me going and that's all that matters!

 
I started with the branding strips from all of the lovely patterned papers in the kit and I knew I wanted to use the die cut circle, that has "love begins at home" on it.  From that, I pulled out and fussy cut any of the houses I found and thought it would be fun to layer them horizontally with my photo.
I machine stitched through each strip along the bottom and added a layer of white gesso on the background paper in order to add a little mixed media behind my photo.
 

My last layout using the main kit also uses another exclusive free cut file offer by My Creative Scrapbook Kit Club. The cut file actually started as a doily shape, but I removed the outer cut border in order to keep the shape in the white cardstock.  This allows me to back it with some beautiful patterned papers. 
For a border for the layout, I gutted one of the gorgeous floral papers so it appeared as though it was a frame....I add some machine stitching for texture and then started adding embellishments to coordinate with each color doily.
This picture is of my daughter and husband and it was taken before her first band concert.  That said, there was a program for the event that I wanted to include with my journaling, so I tucked it in behind my photo with some die cut tags from the kit.  To finish up, I added some splatters and my title using the alpha stickers from the kit.


Thanks so much for checking out my projects this month for My Creative Scrapbook Kit Club.  I love the way they turned out and hope you are inspired to try some of these techniques on your next project.  Also be sure to check out the different kits available this month...before you know it, it will be December and they will be gone so don't miss out!
Have a great week! 
 
xoxo Heather

Monday, October 29, 2018

12x12 scrapbook layouts - Incorporate your stamp and dies //Butterfly Reflections Ink

Hey, crafty friends...I have two scrapbook layouts to share with you showcasing a matching die and stamp set.  I love using my stamps and dies to create my own backgrounds and embellishments.  Using your dies and stamps makes it easy to personalize your projects!
Plus, they are usually the more expensive items in your stash, therefore, the more use they get, the better!
 
So, I know we are days away from Halloween, but I was so excited to use these Concord & 9th products , I am skipping ahead to Winter...just temporarily...
 
I love snowflakes and the Concord & 9th Snow Flurry stamp set and matching die is one of my favorites!
 
 
 The first layout was created using the Snow Flurry stamp set on my background.  I started with a piece of white cardstock and added gesso to prep it before adding mixed media.   


First, I stamped the snowflake images randomly with versamark ink, then heat embossed them with clear embossing powder.  To make them visible and for subtle details in the background,  I used Picked Rasberry Distress Oxide Ink,  Shimmerz paints and the smooshing technique to add some color which makes the snowflakes pop!
 
 
 My title was created with Paige Evans thickers that I partially painted to make sure they stood out from the background.  The other part of the background was stamped with Archival black ink and an apha stamp from Elles Studio, but here is a comparable one from the Butterfly Reflections Ink shop -  outline alpha stamp set, then partially painted with Picked raspberry distress oxide ink.  I used Archival black ink because it is waterproof and won't smear when I added paint to it.
 
 
 The large snowflake is a Paper Issues free file cut on my Silhouette Cameo. I hand stitched the outline with pink embroidery thread and backed it with patterned paper.  I also added some little snowflake sequins from Spiegelmom Scraps inside the snowflake.
 
For finishing details, I included some Neat & Tangled sequins and white Nuvo drops.  
The die cut embellishments are from Pretty Little Studio and the flair is from A Flair for Butttons Etsy shop & Cuts2Luv Etsy Shop.
The patterned papers are from Crate Paper Snow & Cocoa collection. 
 
**************************************************************
 
The second layout used the Snow Flurry die set to add dimension and texture. 
 
 
First, to create my background I added gesso to prep the patterned paper, then used Salty Ocean Distress Oxide Ink and Seedless Preserves Distress Oxide Ink to add color that would peek through the snowflakes.
 
 
 I used a snowflake Just Nick Studios file to cut on my Silhouette Cameo from patterned paper, then I cut several snowflakes from the die set.  I love this die set because even though there is only two actual dies, it cuts three pieces and can be layered multiple ways.  I cut them in patterned paper and layered them over my large snowflake cut file, then to add some shimmer, I used my Nuvo glue pen to adhere Distress vintage platinum glitter dust on the edges.
 
 
This picture is of my daughter while in my craft room with me creating Christmas cards which I cherish always.  Therefore, I had quite a bit of journaling I wanted to include and decided to tuck it in behind my "title" and picture and secured it with a tiny paper clip.


For finishing touches, I added Pinkfresh Studio heart stickers and Neat & Tangled sequins.  The flair button are from Cuts2Luv Etsy Shop and the patterned papers are from BoBunny.  Lastly, I used my Tonic Aqua shimmer pen on just about everything I could add it to!
 
  I hope you enjoyed all of the snowflakes and are inspired to head over to the Butterfly Reflections Ink online shop to check out all of the lovely holiday goodies!!  Please feel free to leave any comments or questions below. 
Have a spooky week!
 

Thursday, September 13, 2018

"Autumn Faves" mini album///Pink Paislee Auburn Lane//Butterfly Reflections Ink DT

Hey crafty friends....I have another mini album to share....I know, I know, I have been on a mini album kick lately...and actually, I have a whole container full of pictures and ideas for all of the mini albums I want to make....I will be done with that list in a few years! :)  This mini album features the Pink Paislee Auburn Lane Collection and includes all of my favorite memories made during the fall season!
 
Before I get in to the details and pictures...I am sad to say this will be my last design team post, but I want to share my gratitude for the opportunity Vanessa provided me by accepting me as part of the Butterfly Reflections Ink design team.    It has been so much fun and a dream come true!
OK...enough with the mushy stuff and on to the crafty stuff!
 
This mini album was definitely a labor of love, but totally worth it in the end...I started with matting my photos and planning my pages with the 6x8 paper pad including the cover and back.  I decided to do something different with this mini album and incorporate some old denim from my stash.  I added some charms to the binding ring and tied some white ribbon on.


The cover was created with a card from the ephemera pack that I hand stitched as well as the Pink Paislee Gold Thickers.  I absolutely love these foam thicker alphas...they are the perfect size and these colors! 


I started with the traditional pumpkin patch and hay ride photos of my family including my parents, nephews, and brothers....It is a tradition we try to do together every year!  I used cut files from The Cut Shoppe throughout and added quite a bit of hand stitching as well which is not my forte, but I love the texture and dimension it adds.


Next in line is my birthday which is in October and that definitely deserves documenting.....My husband always showers me with gifts and my entire immediate family meets for dinner. 
To add to the Auburn Lane embellishments, I pulled stamps and dies from my stash as well brads & flair buttons.


My husband, daughter, and I have been making holiday crafts since she was older enough to hold a glue stick...I have a box of  all of the holiday crafts we've made over the years and its a tradition I like to document every year.


I used lots of different types of materials to incorporate into this mini album to keep it interesting through to the end....look through your stash and pull out vellum, acetate, tissue paper, baggies, fabrics, etc....they all can be used and visually, it keeps the eye drawn in!


Lastly, fall includes Thanksgiving and couldn't be left out...
For finishing details, I added metal charms, sequins, & ribbons including little shaker pockets in a 4 x 4 pocket page sleeve...


Each year, I ask my husband and girls to write down what they are grateful that year...before they are allowed to eat...and I provide them with cute little cards of course and I keep them and definitely think they are worth documenting...they are tucked in the glassine bag above....


There are more pages and details to see, however, if I included all of the pictures, this would be the longest post ever!!
To see a flip through of this album as well as more details on how it was made and the products used, please check out my YouTube channel linked at the bottom of this post.
 
Please see the below list for the products I used that are still available from the Butterfly Reflections Ink online store....


I also used products from Pretty Little Studio, Shimmerz paints, Bramble Fox & Tim Holtz.
Thanks so much for sticking with me on this post and I hope you are inspired to create your own "Autumn Faves" mini album or project!
Please feel free to leave a comment or any questions you may have below...I'd love to know what you think!
 
For a flip through and more details...You can check out the video linked below on my YouTube channel...

https://youtu.be/EIdhXTfR9bg
 
Thank you. xoxo Heather


Tuesday, August 21, 2018

"Love, Home, Family" Scrapbook Layout //Butterfly Reflections Ink DT

Hi, crafty friends....I am back with another a scrapbook layout to share with you for the Butterfly Reflections Ink design team...I had a great time making this and hope you like it too!
 
The picture is of myself, husband, and daughter and I love the Pink Paislee Auburn Lane collection with it!  I started with a piece of white cardstock and really wanted to play with my new Shimmerz Paints because they match this collection so well.  I used the paints on the background and the  cut file title I cut on my Silhouette. Specifically, when skies are grey, so sappy, pip-pip cheery-o, and sage it isn't so. I got the title from a file available for free on the Hip Kit Club website and the circle is from 17turtles/Juliana Michaels blog.
 
 
I matted my photo on a couple patterned papers from the 6 x 8 paper pad and popped it up on some adhesive foam.
 
 
To add texture, I machine stitched my title and the circle cut file to the background. 
 
 
 To embellish my layout, I used the cute little puffy stickers, rub ons, and stickers from the 6 x 8 sheet of accent stickers.  To back the embellishment clusters, I used a couple of pieces from the cut apart patterned paper from the paper pad.
 
 
Lastly, I tucked in a few of the vellum gold flower die cuts from the Floral Ephemera.  I love those flowers and there are so many included in the pack!!


Thanks so much for stopping by and I hope you are inspiring to get a little messy on your next project!  I'd love to know what you think.  Please feel free to leave a comment or question and I will get back to you as soon as possible. 
Make sure you head to the Butterfly Reflections Ink shop now to take a look at all of these goodies and all of the new stuff being added everyday!!
Have a great week!
 

December Kit share - My Creative Scrapbook Kit Club/main Kit

Hey my friends....Happy new year!! I realize this post is a little late, but I have been spending time with my family and working on new co...